Quickstart Guide
Get your first event live on CheerKeeper in just 5 minutes. This guide walks you through the essential steps to create an event and publish it to attendees.
Prerequisites
- A CheerKeeper account (sign up at admin.cheerkeeper.com)
- Basic event details (name, date, location)
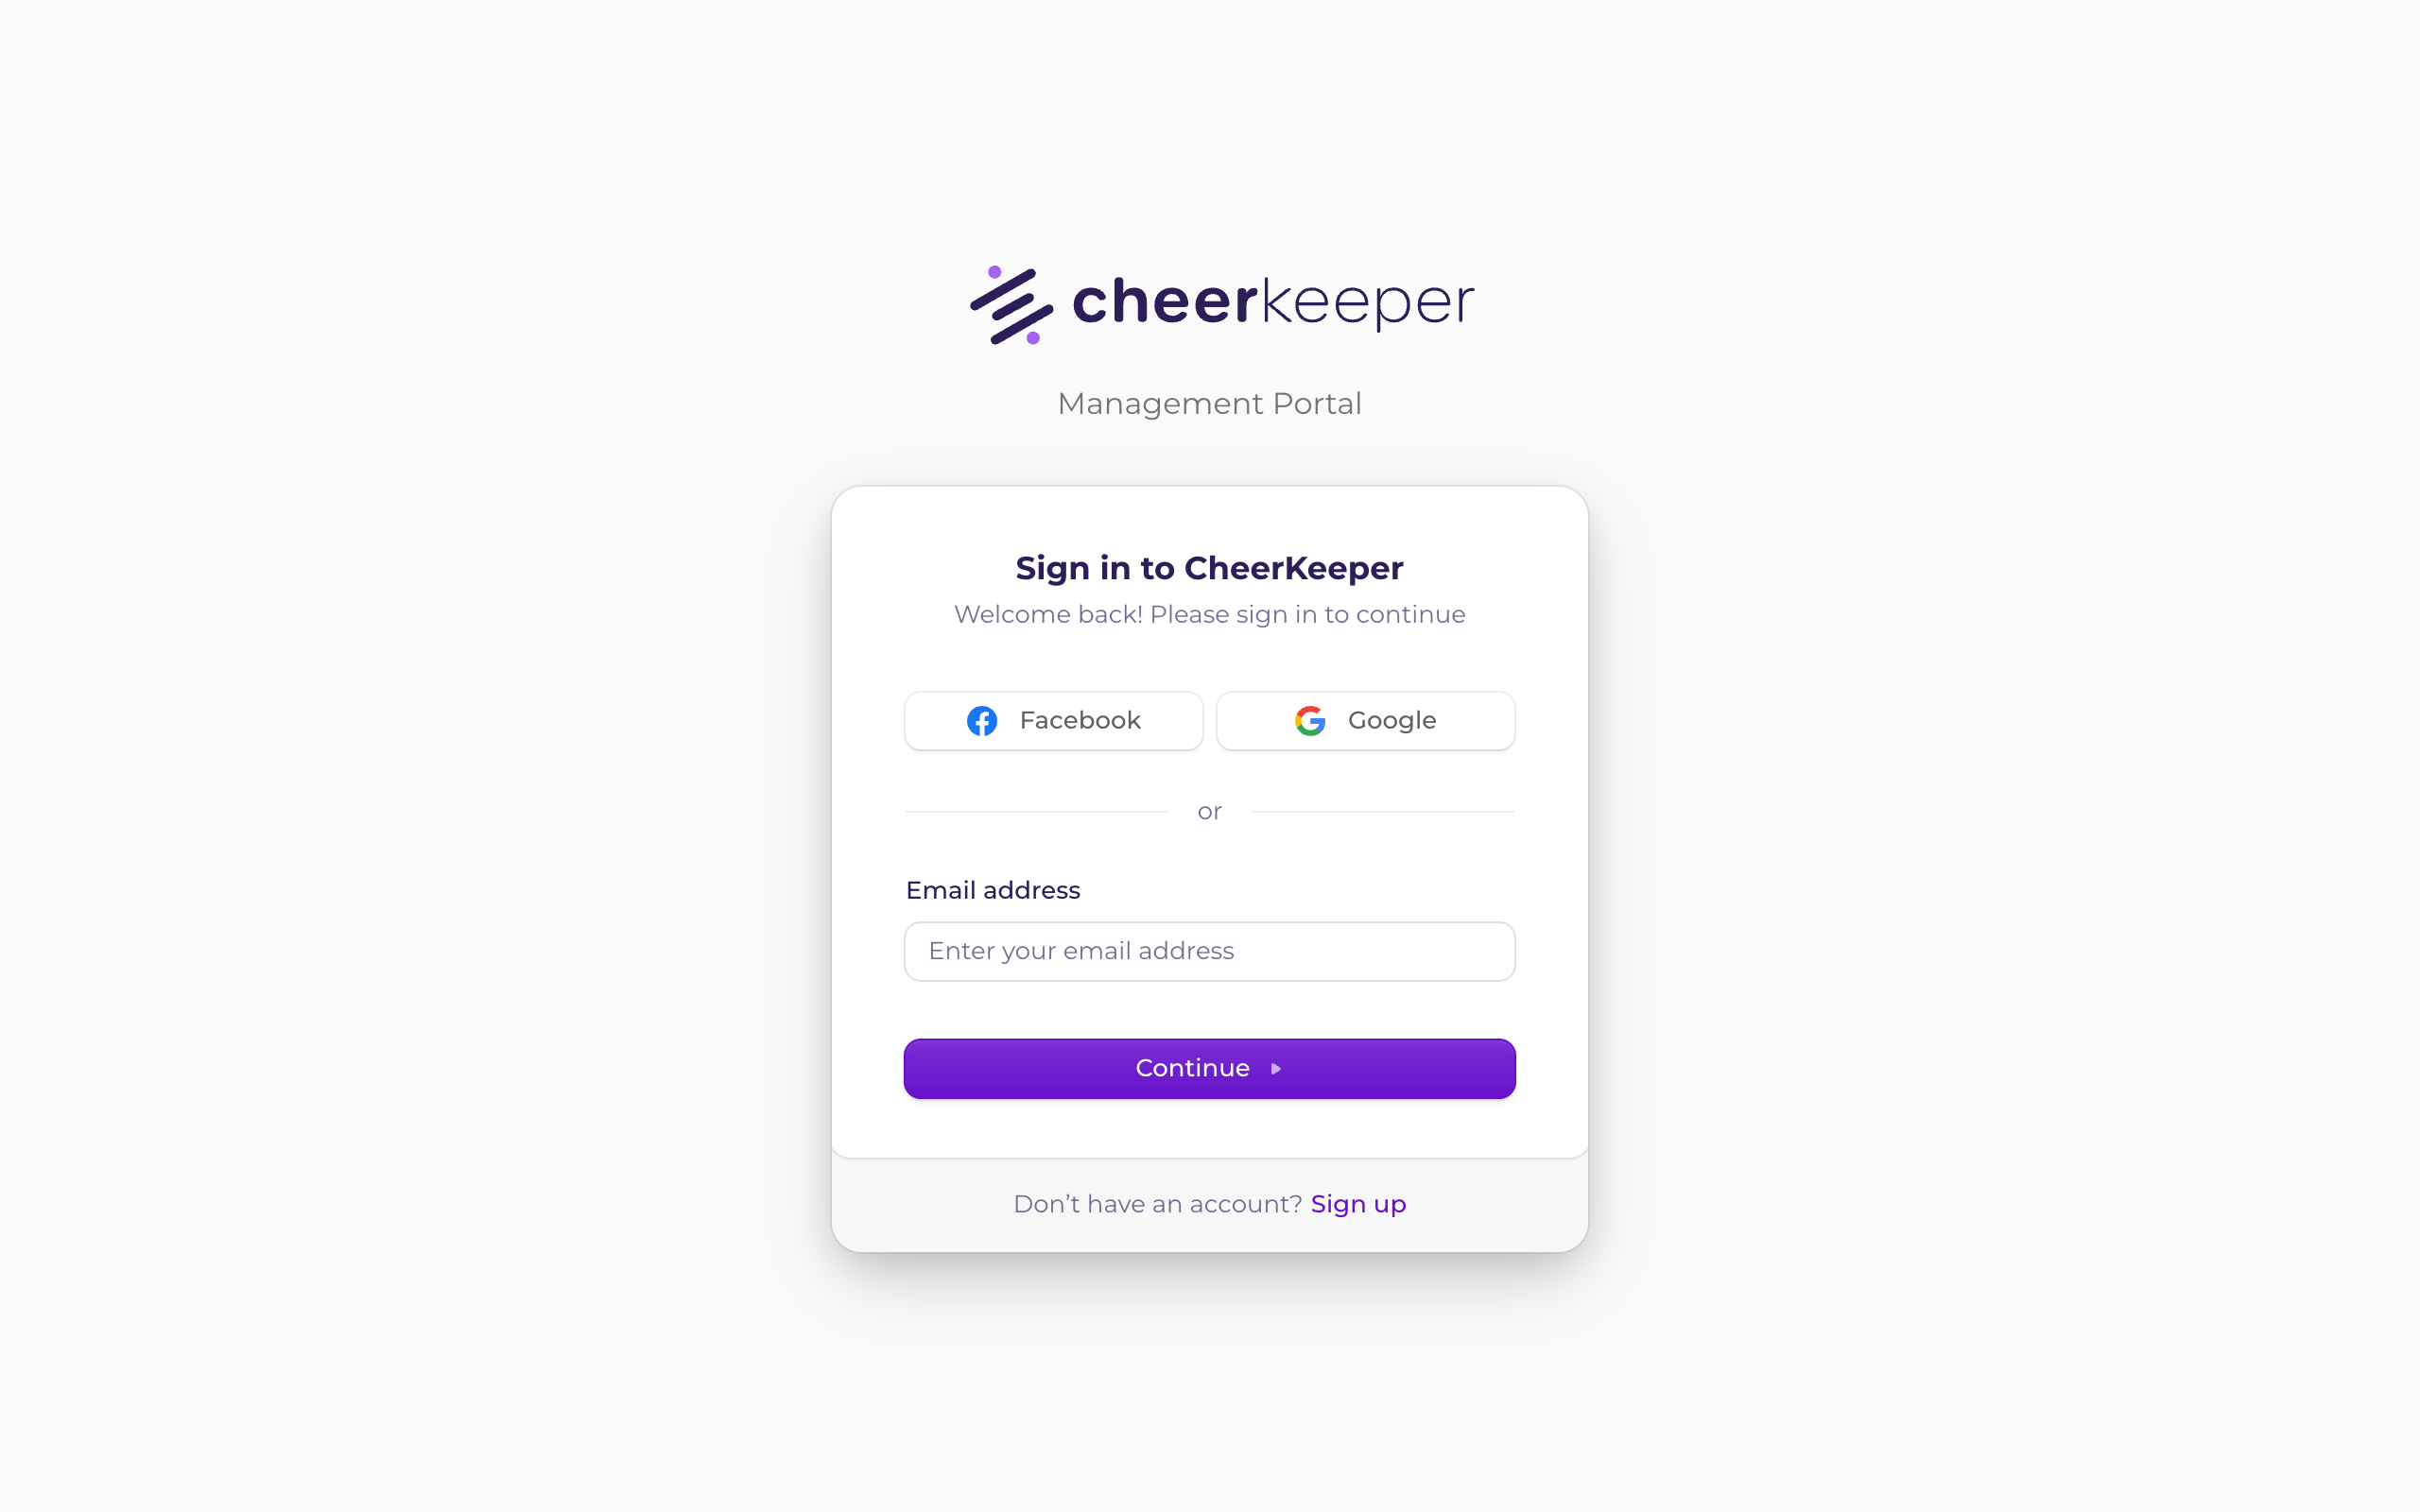
Step 1: Sign In
- Go to admin.cheerkeeper.com
- Click Sign In and use your email/password or Google account
- You'll land on your Events dashboard
After signing in, you'll see your Events dashboard:
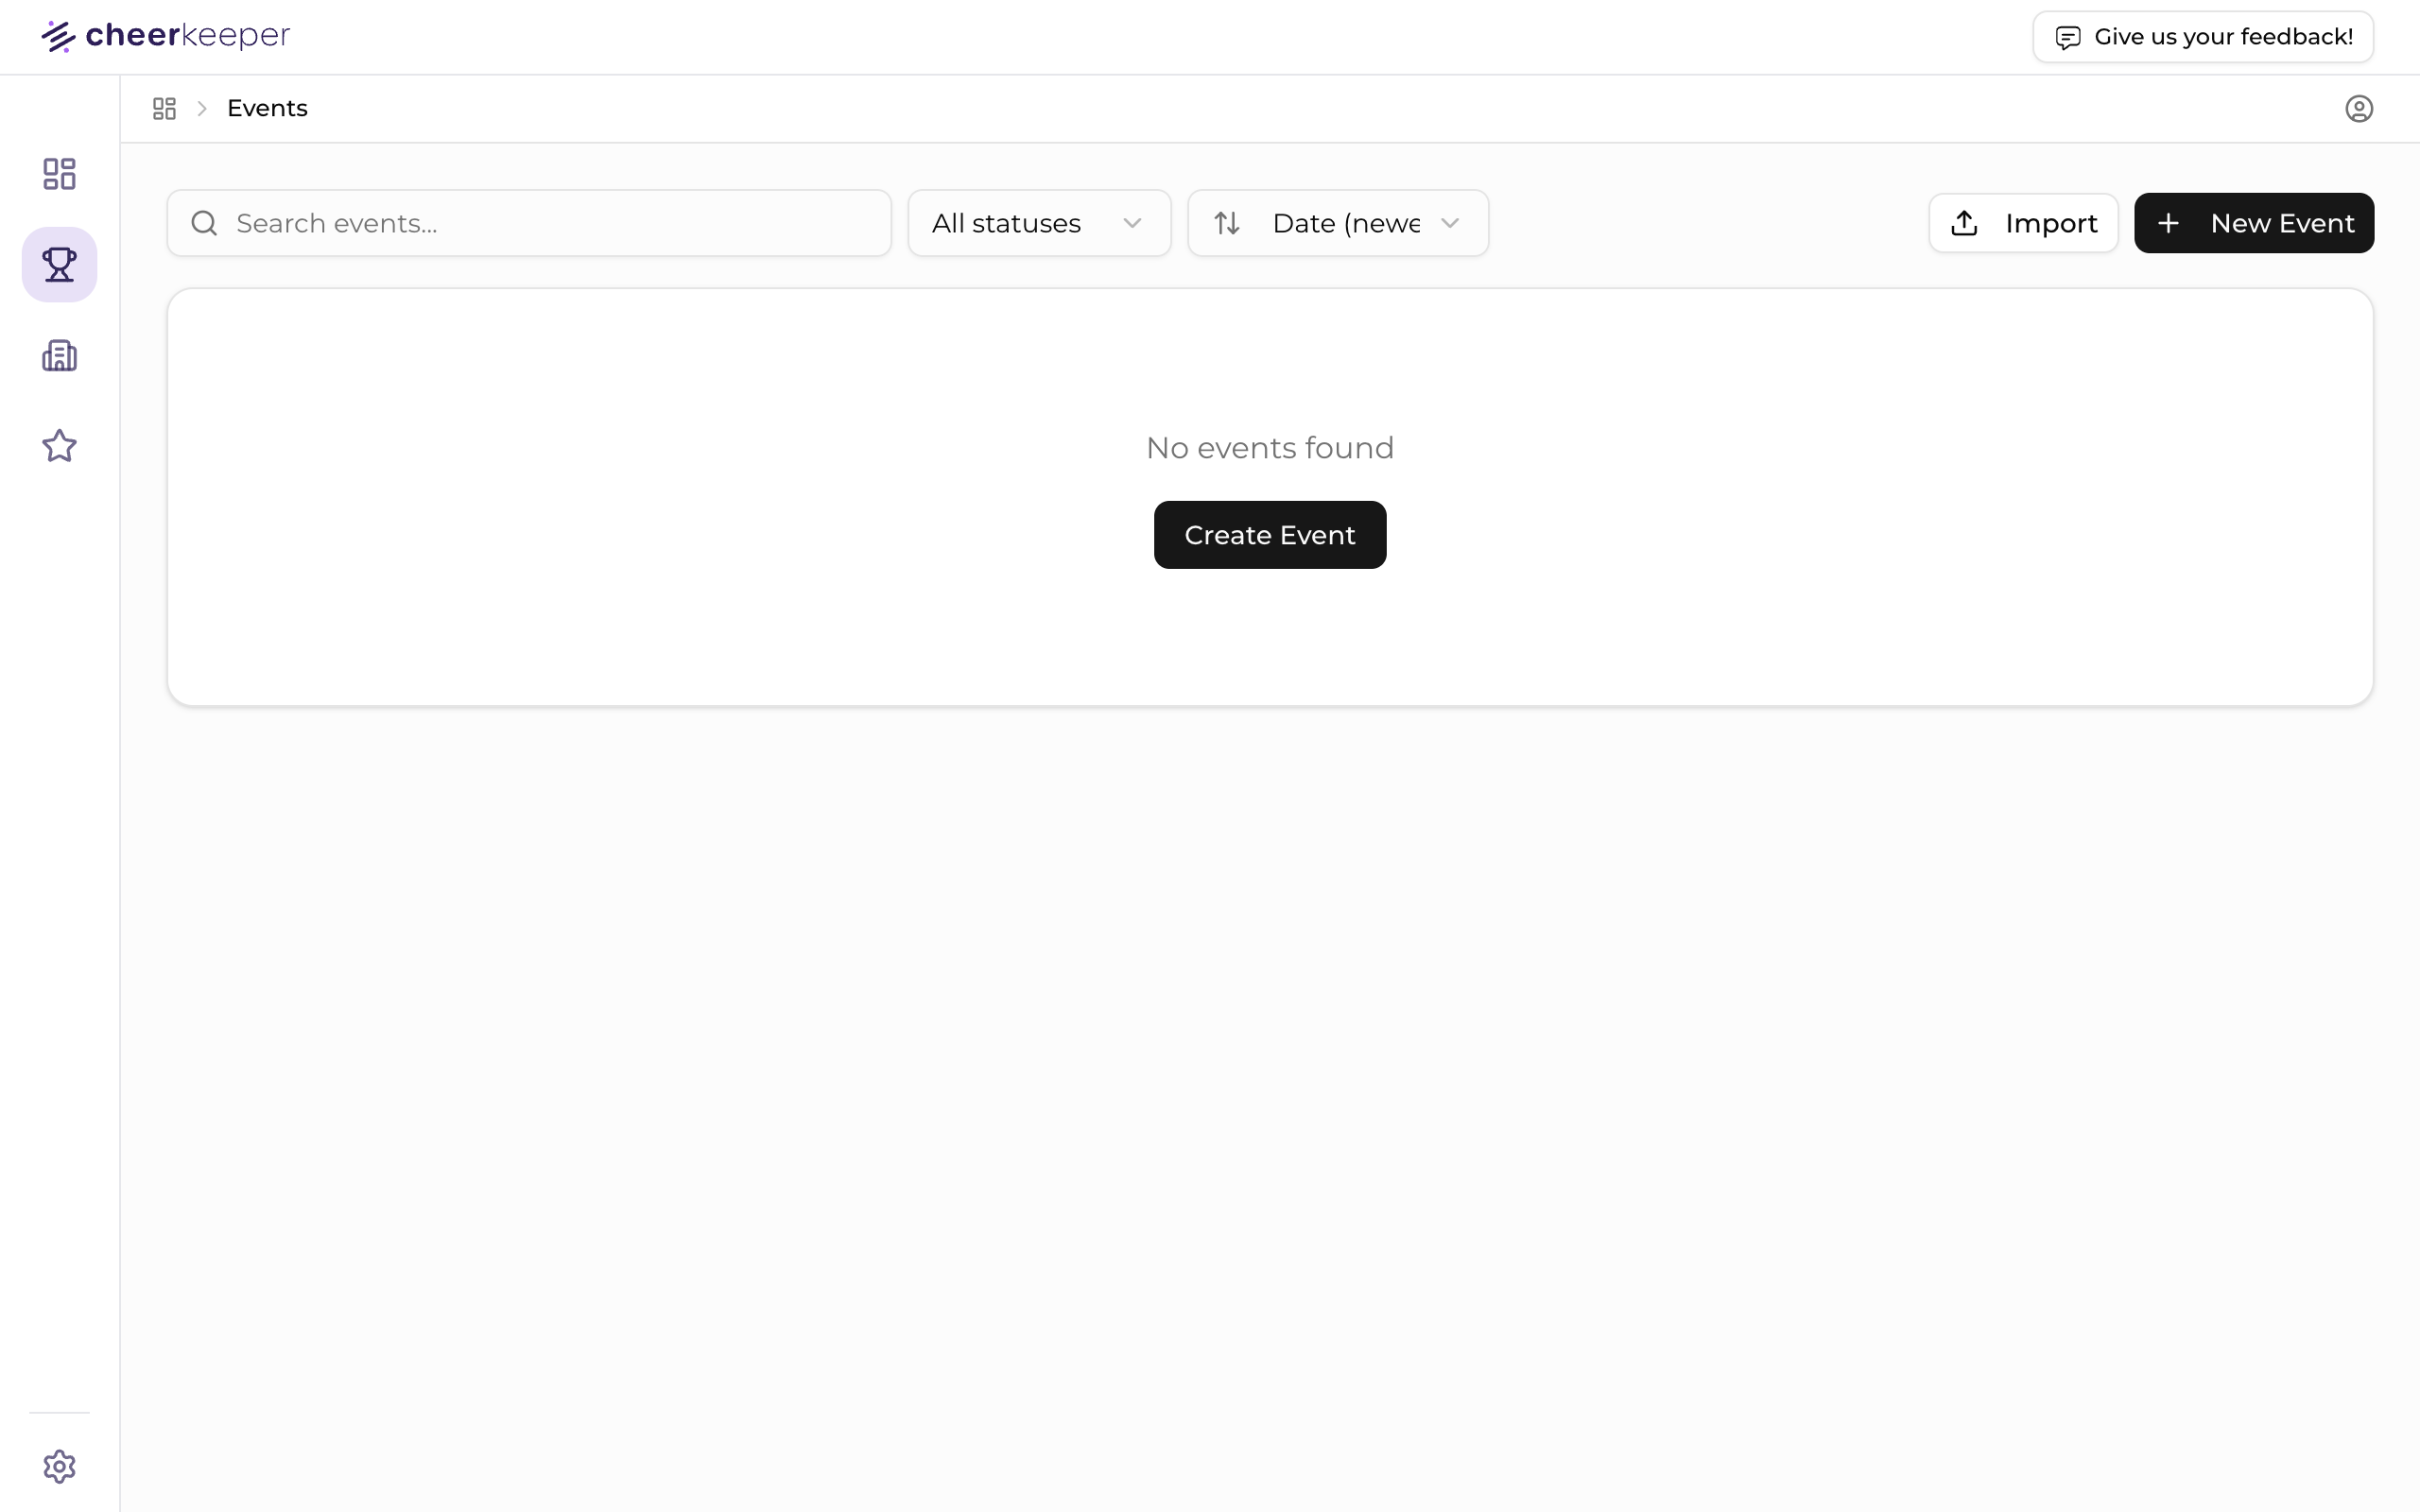
Step 2: Create an Event with Tournament Builder
Click the + New Event button in the top right to launch the Tournament Builder. This wizard walks you through 8 steps to set up your event.
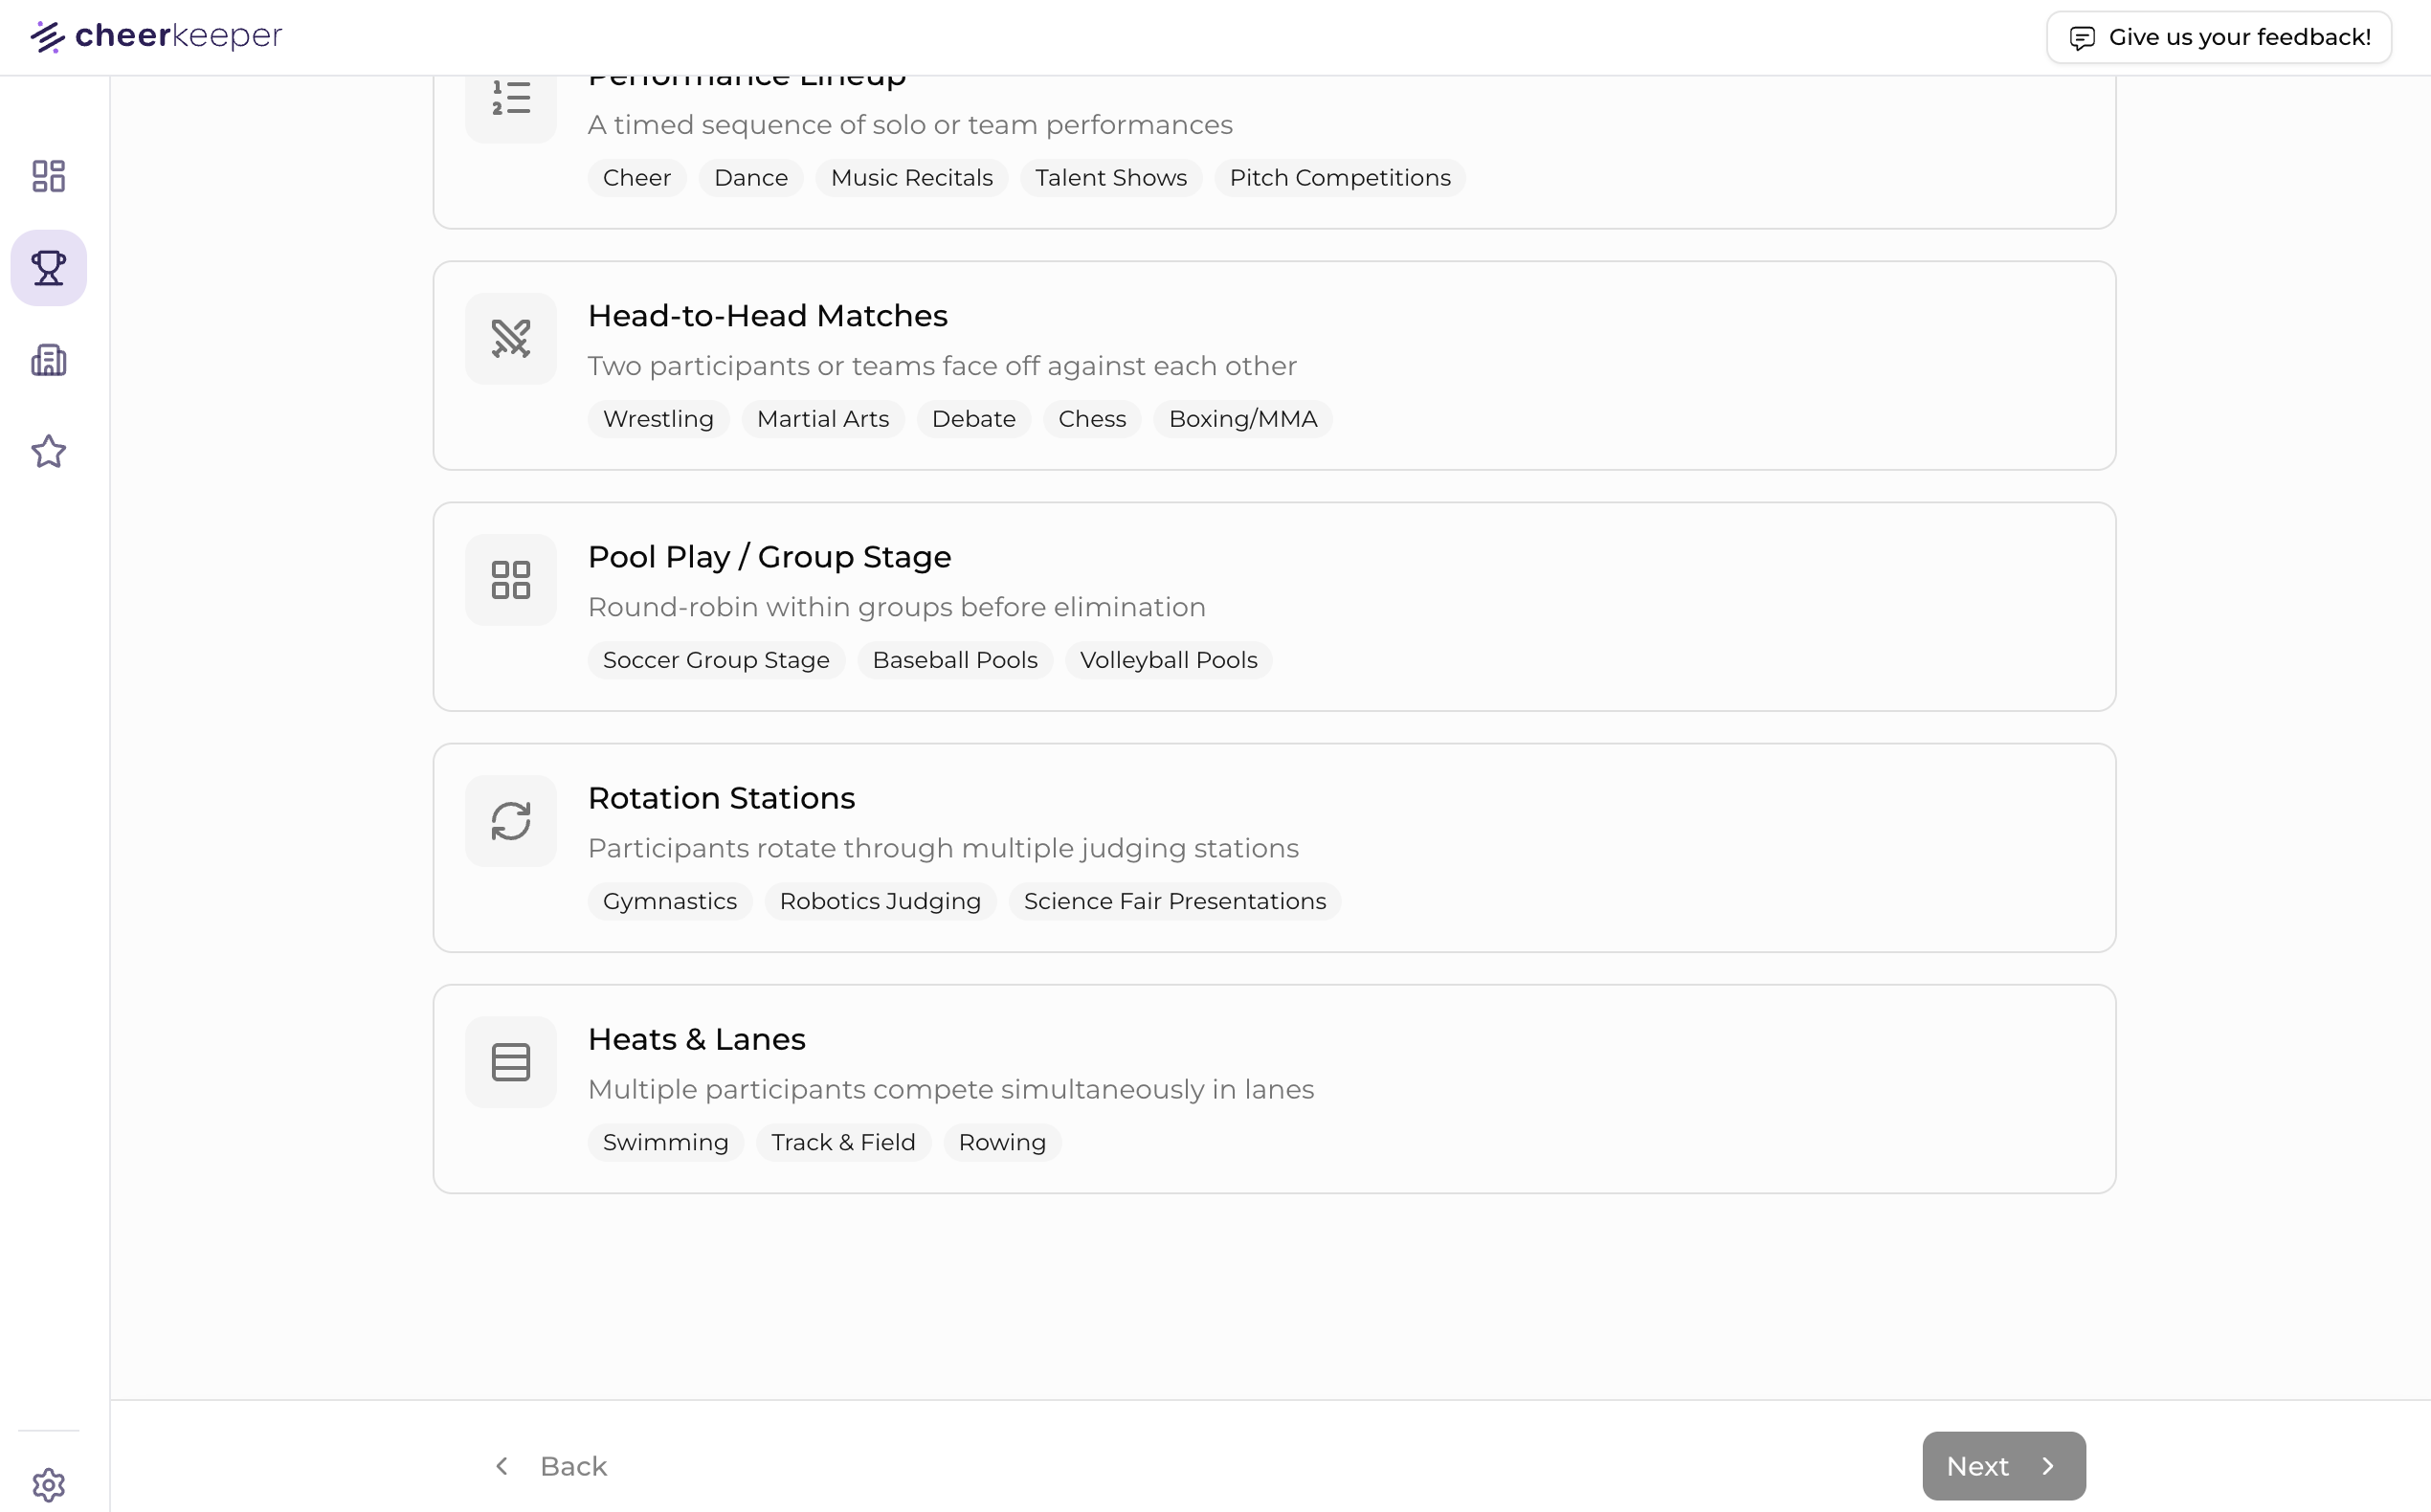
Step 1: Choose Format
Select the schedule format that best fits your event:
- Performance Lineup - A timed sequence of solo or team performances (Cheer, Dance, Music Recitals, Talent Shows, Pitch Competitions)
- Head-to-Head Matches - Two participants or teams face off against each other (Wrestling, Martial Arts, Debate, Chess, Boxing/MMA)
- Pool Play / Group Stage - Round-robin within groups before elimination (Soccer Group Stage, Baseball Pools, Volleyball Pools)
- Rotation Stations - Participants rotate through multiple judging stations (Gymnastics, Robotics Judging, Science Fair Presentations)
- Heats & Lanes - Multiple participants compete simultaneously in lanes (Swimming, Track & Field, Rowing)
Step 2: Select Sport
Choose the sport for your event (Cheer, Dance, Wrestling, etc.). This helps CheerKeeper use the right terminology throughout.
Step 3: Basic Info
Enter your event details:
- Event Name - e.g., "Spring Championship 2025"
- Event Dates - When your event takes place
- Location - Venue name and address
Step 4: Event Type
Select whether this is a competition, showcase, practice, or other event type.
Step 5: Venue
Enter your venue details including name, address, and any room/hall configuration.
Step 6: Schedule
Configure your schedule settings including sessions (time blocks like Morning, Afternoon, Awards) and timing options.
Sessions help attendees know when to arrive and help you organize a complex schedule.
Step 7: Divisions
Set up your divisions (age groups, skill levels) that teams will compete in.
Step 8: Review
Review all your settings before creating the event. You can always edit these later.
You can skip optional steps and come back to edit them later from the event settings.
Step 3: Add Performances
After finishing the Tournament Builder, you'll land on your event's Schedule page. Now it's time to build your schedule:
- Click + Add Performance
- Enter the performance details:
- Team Name - The competing team
- Organization - Their gym, studio, or school
- Division - Age division (Mini, Junior, Senior, etc.)
- Level - Competition level (1-6 for cheer)
- Performance Time - When they perform
- Room/Hall - Where they perform
- Repeat for all performances

Use the Import feature to upload your schedule from Excel or CSV instead of adding performances manually.
Step 4: Preview and Publish
- Click the Preview tab to see how your event looks
- Verify all details are correct
- Click Publish to make your event live
Once published, your event appears in the CheerKeeper mobile app and attendees can start finding their teams.
What's Next?
- Schedule Management - Learn drag-and-drop editing and cascade changes
- Import Tools - Upload schedules from Excel or PDF
- User Management - Add team members to help manage events
Need Help?
- Check our Troubleshooting Guide
- Email support@cheerkeeper.com